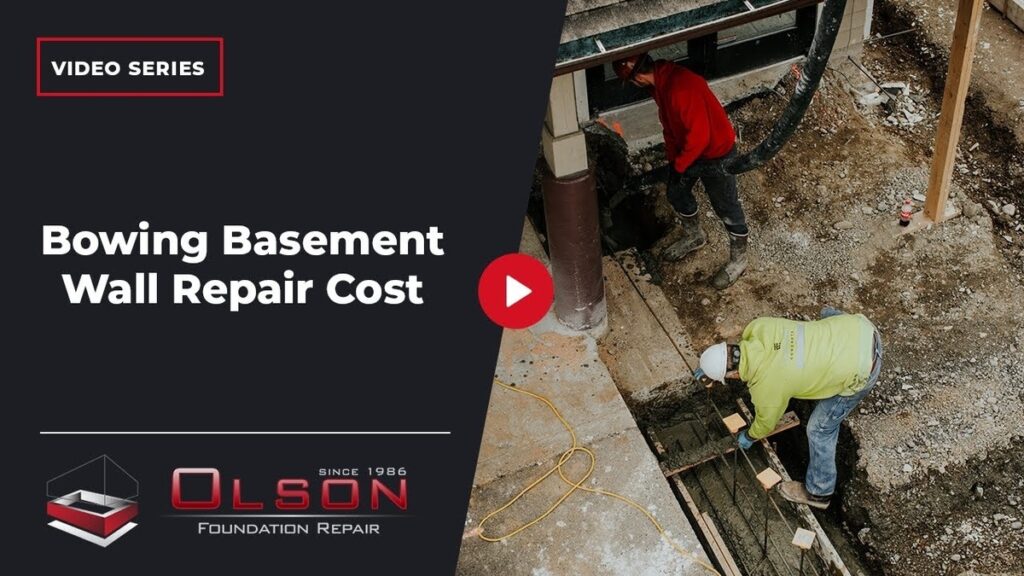
Foundation walls can start to bow or lean inward due to pressure from soil outside the home. This kind of movement weakens the structure and can lead to cracks or even collapse if not fixed early. Wall bracing methods are used to stop the wall from moving any further.
These methods include steel I-beams or wood blocking systems that support the wall and keep it stable. If the wall has already shifted too far, it may need to be pushed back before bracing is installed.
How Do Wall Bracing Methods Work?
Wall bracing helps stabilize foundation walls that are bending or shifting. The type of brace and how often we space them depend on your wall type.
Different walls need different spacing and materials:
- Cinder block walls: I-beams every 4 feet
- Stone walls: I-beams every 5 feet
- Poured concrete walls: I-beams every 6 feet
We choose the spacing based on how strong the wall is and how much movement we see.
What is the Installation Process?
We follow a step-by-step process to make sure the wall braces do their job right.
Step 1: Set I-Beams into the Footer
We start by breaking open the concrete basement floor. Then we set the steel I-beams down into the home’s footer. Each beam is checked:
- Level side to side
- Plumb (straight up and down)
Once it’s in place, we secure the top.
Step 2: Secure the Top of the Beam
The way we attach the beam at the top depends on the direction of the floor joists:
- Parallel joists: Use a steel angle bracket. We pre-drill holes and fasten it to the joist.
- Perpendicular joists: We install a wood blocking system. We glue and screw blocks into the joist, then use a 2×6 or 2×8 runner and lag bolts to hold the beam in place.
Pro Tip: Always use lag bolts at least 3/8″ thick and 4″ long. Anything less won’t hold tight under pressure.
How Do We Finish the Job?
Once all beams are secured:
- Any gaps behind the beam are filled with concrete or grout.
- The floor is re-poured around the beam base.
- Everything is sealed tightly to lock it in place.
These wall bracing methods stop future movement and give the wall a solid backup.
When Do We Push the Wall Back?
If the wall has already bowed too far, bracing alone isn’t enough. In those cases, we dig out the soil on the outside of the wall. Then we:
- Lift the house slightly (if needed)
- Push the wall back into position
- Install vertical wall restraints to keep it from moving again
Need expert help with wall bracing methods? Contact Olson for a free consultation. We’ll inspect your foundation and recommend the right fix based on your wall type.
What Are the Benefits of Wall Bracing?
Wall bracing keeps your home safe and prevents future damage. Here’s why it matters:
- Stops wall movement: Prevents cracks from growing
- Protects your foundation: Avoids costly repairs later
- Adds resale value: A braced foundation shows proper maintenance
- Supports floor above: Adds extra structure to your home
Key Takeaway: Wall braces are not just for safety. They also help protect your home’s value and structure for the long haul.
In Summary
Wall bracing methods are a reliable way to stop basement walls from bowing or shifting inward. From I-beams to blocking systems, we match the method to your wall type and install it to last. Whether your wall needs support or needs to be pushed back, we’re here to help.
Contact Olson today for a free consultation. We’ll assess your wall and create a plan that works for your home and budget.


