Self-leveling concrete is a powerful solution for anyone dealing with uneven floors during a renovation project. This versatile material is designed to smooth out rough surfaces, creating a perfectly flat and even base ready for new flooring. As contractors, we have extensive experience using self-leveling concrete, and we’re here to guide you through the process to help you achieve professional-quality results.
Why Use Self-Leveling Concrete?
Using this material is an excellent choice for creating a smooth, level surface on which to install new flooring. It’s especially useful for basements, bathrooms, or any room where you need a flawless finish. Unlike traditional concrete, it flows more easily and sets quickly, minimizing downtime on your project.
How to Use Self-Leveling Concrete
Preparing Your Floor
Before you start mixing and pouring, proper preparation is crucial.
- Clean the Surface: Begin by sweeping and vacuuming the floor to remove all debris. You want a completely dust-free surface to ensure the concrete adheres properly.
- Prime the Floor: Apply a primer specifically designed for use with self-leveling concrete. This step is essential for promoting adhesion and preventing bubbles in your finished floor. Follow the manufacturer’s instructions for mixing and application.
Cover Openings and Gaps
Ensure any floor openings, such as drains or vents, are securely covered. You can use HVAC sheet metal or similar materials, sealing around the edges with caulk. To prevent the caulk from sticking to the concrete, coat it with Vaseline.
Mixing the Concrete
Mixing self-leveling concrete requires precision and speed.
Tools and Materials
- A bag of self-leveling concrete
- A 5-gallon bucket
- Water (as specified on the concrete bag)
- A corded drill with a concrete mixing paddle
- A flat-sided trowel
Mixing
- Start by adding the specified amount of water into the bucket.
- Gradually add the concrete mix while continuously stirring with the drill and mixing paddle.
- Work quickly, as the concrete begins to set as soon as it’s mixed with water. It’s advisable to have a partner help with this step.
Pouring and Smoothing
Once mixed, pour the concrete onto the floor, starting from the farthest corner and working your way towards the exit.
- Pouring: Pour the concrete in small sections. This approach allows you to move around and smooth it out without stepping on the freshly poured surface.
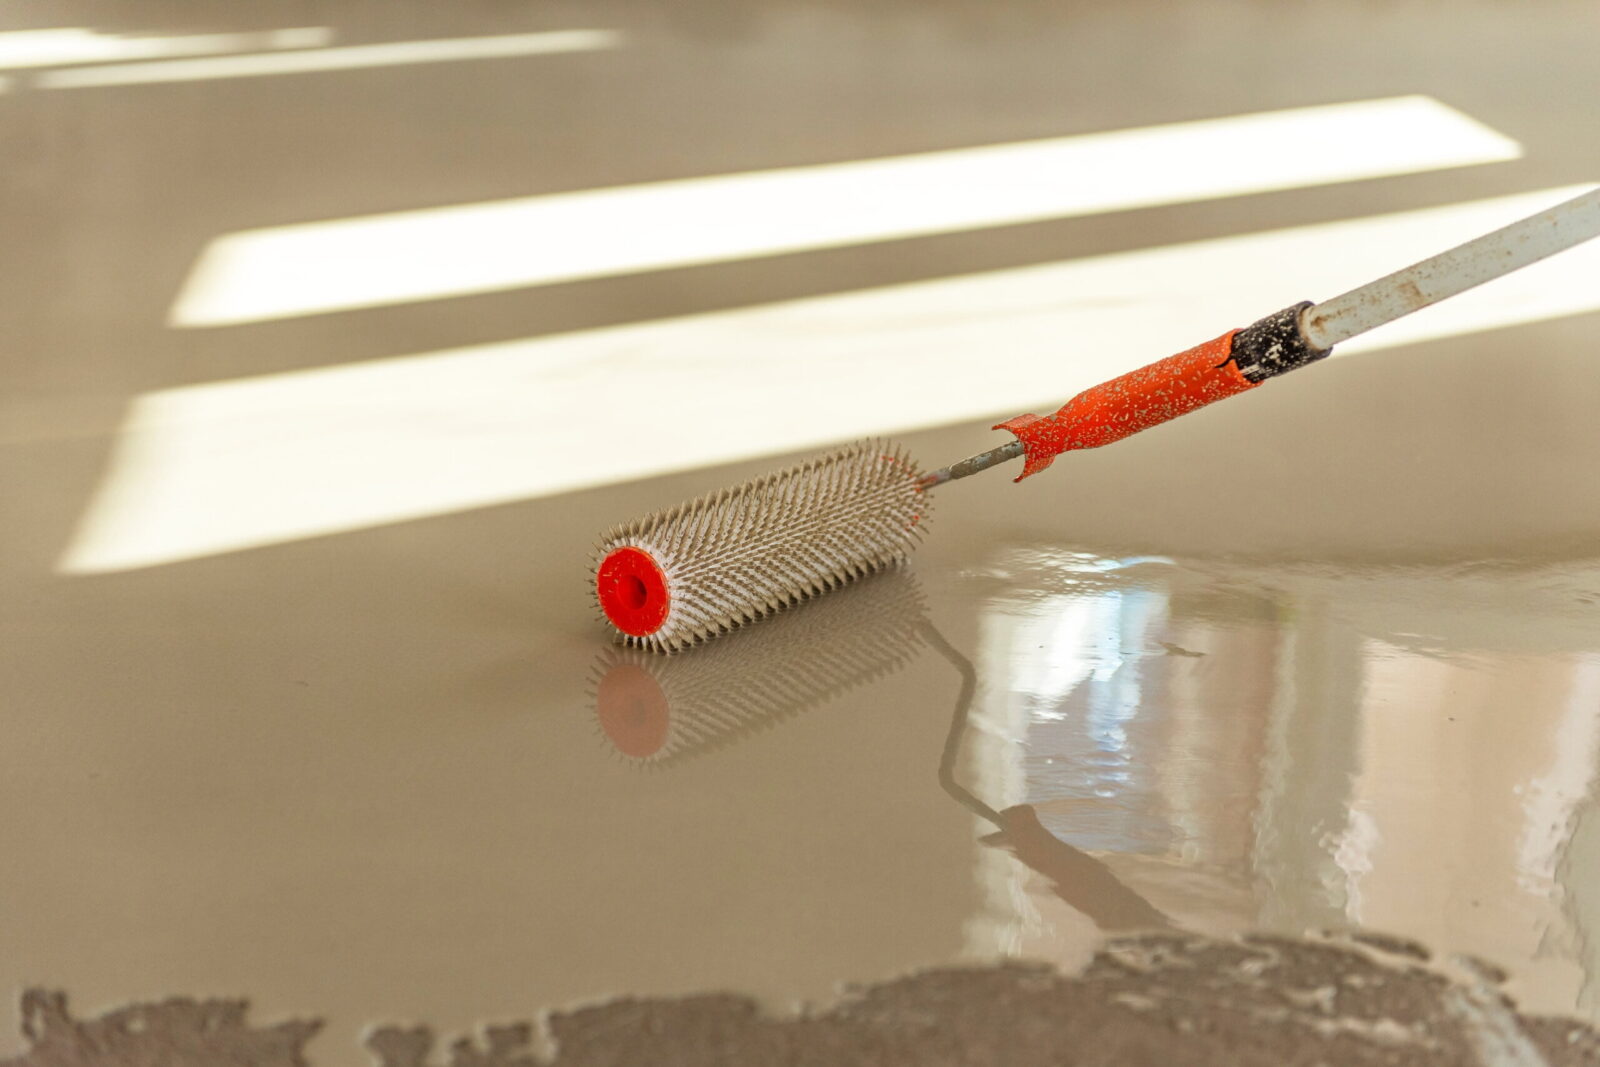
- Smoothing: Use the trowel to spread the concrete evenly. Avoid overworking it, as excessive troweling can leave marks that will be visible in the finished surface.
Drying and Curing
Let the concrete dry according to the manufacturer’s instructions. Typically, you can walk on it after four hours, but it’s best to wait a full 24 hours before proceeding with further construction.
Tips for Success
- Work Fast: Speed is critical when working with self-leveling concrete. Have all your tools and materials ready before you start.
- Safety Gear: Wear gloves, long sleeves, and safety glasses. The concrete generates heat as it sets, which can cause burns.
- Avoid Overworking: Once you’ve spread the concrete, leave it to set. Overworking can lead to an uneven finish.
In Summary
Using self-leveling concrete can transform uneven floors into smooth, level surfaces ready for new flooring. With proper preparation and execution, you can achieve professional results. If you have any questions or need assistance with your project, contact us. We’re here to help you every step of the way.